Installing a premium recliner in a private cinema is more than a furniture decision; it is a convergence of architecture, technology and human comfort. Architects, interior designers and AV integrators must coordinate dimensions, power, acoustics and lighting before the first bolt is tightened. A systematic plan prevents costly re‑work, preserves the visual integrity of the space, and guarantees that the recliner enhances rather than disrupts the cinematic experience. This guide outlines the key checkpoints to consider before any installation begins.
1. Assessing Room Geometry and Clearance
Begin by documenting the exact length, width and height of the media room, noting any protrusions such as columns or built‑in cabinetry. Measure door openings, stairwells and elevator dimensions to confirm that the recliner can be delivered and manoeuvred without obstruction. Record the footprint of the selected model, adding a buffer of at least 150 mm on each side to accommodate flooring transitions and future cleaning access.
Beyond the physical envelope, evaluate the ergonomic envelope required for a fully reclined position. The seat back, footrest and headrest will occupy a larger volume when extended, so ensure that ceiling height and adjacent furniture allow for comfortable clearance. Consider sight‑line geometry; the recliner should sit within the optimal viewing cone without forcing the viewer to crane their neck or compromise posture.
2. Integrating Power and Control Infrastructure
Luxury recliners often incorporate motorised mechanisms, USB charging ports and integrated audio amplifiers. Plan dedicated low‑voltage conduit routes that keep cables hidden behind wall panels or under raised flooring. Locate power outlets at least 300 mm from the recliner base to avoid accidental tripping, and use surge‑protected circuits to safeguard sensitive electronics.
Coordinate the recliner’s control interface with the room’s central automation system. Whether the client prefers a wall‑mounted keypad, a handheld remote or a smartphone app, the communication protocol (e.g., RS‑232, IR, Wi‑Fi) must be mapped early. This prevents later retro‑fitting and ensures seamless interaction between lighting, shades and the recliner’s recline/tilt functions.
3. Acoustic Compatibility and Seating Placement
Speaker placement relative to the recliner influences perceived bass response and imaging. Position the primary speakers at ear height when the seat is in its most common viewing position, and keep the recliner centred within the sweet spot defined by the speaker array. Avoid placing the recliner too close to reflective surfaces that could cause early reflections and muddle dialogue clarity.
Consider floor and wall treatments that complement the recliner’s upholstery without over‑damping the room. Acoustic panels placed behind the recliner can reduce rear‑wall reflections, while a dense carpet under the seat helps isolate vibration. These measures preserve the immersive sound field while maintaining the visual elegance of the seating layout.
4. Lighting, Dimming and Ambient Controls
Integrate low‑glare, dimmable lighting that respects the recliner’s fabric and the overall cinematic ambience. Concealed LED strips behind crown mouldings or within coves provide indirect illumination that does not interfere with screen contrast. Ensure that any accent lighting is positioned to avoid glare on the recliner’s headrest or armrests.
Link the lighting control to the recliner’s recline command where feasible. A synchronized dimming sequence that lowers illumination as the seat reclines enhances the theatrical feel and reduces visual distraction. This level of integration should be programmed during the commissioning stage to guarantee reliable operation.
5. Upholstery Selection and Climate Considerations
Choose upholstery fabrics that balance tactile luxury with durability in a climate‑controlled environment. Natural leathers, high‑performance velours and tightly woven textiles each respond differently to temperature and humidity fluctuations. Verify that the room’s HVAC system maintains stable conditions to prevent material cracking or colour shift over time.
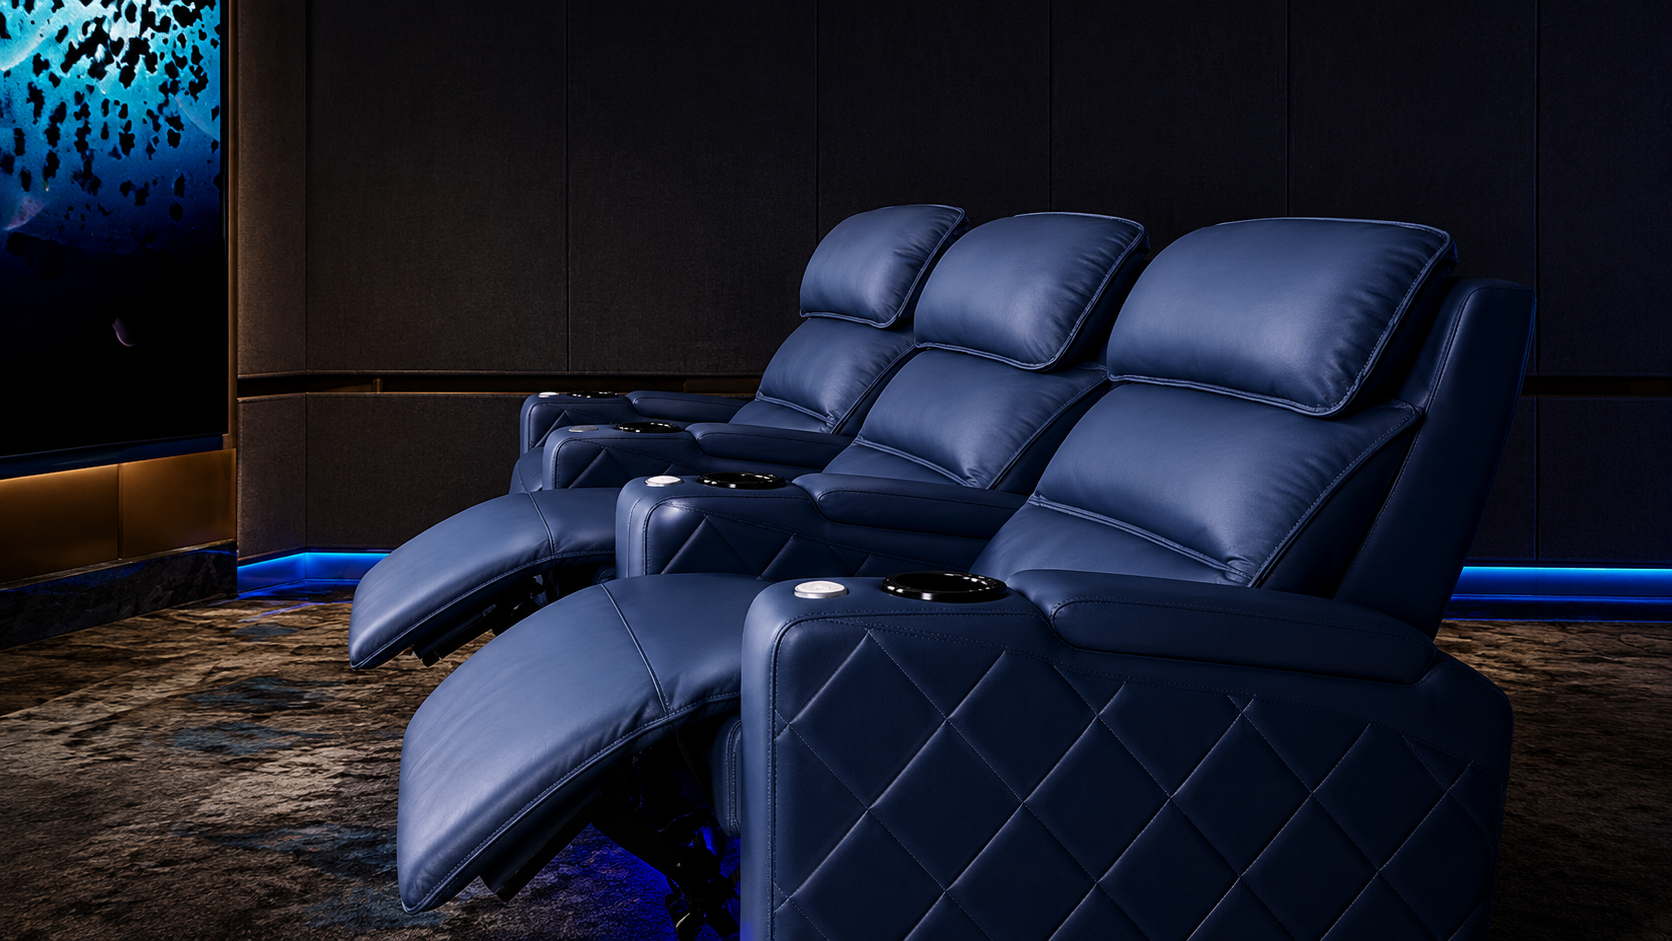
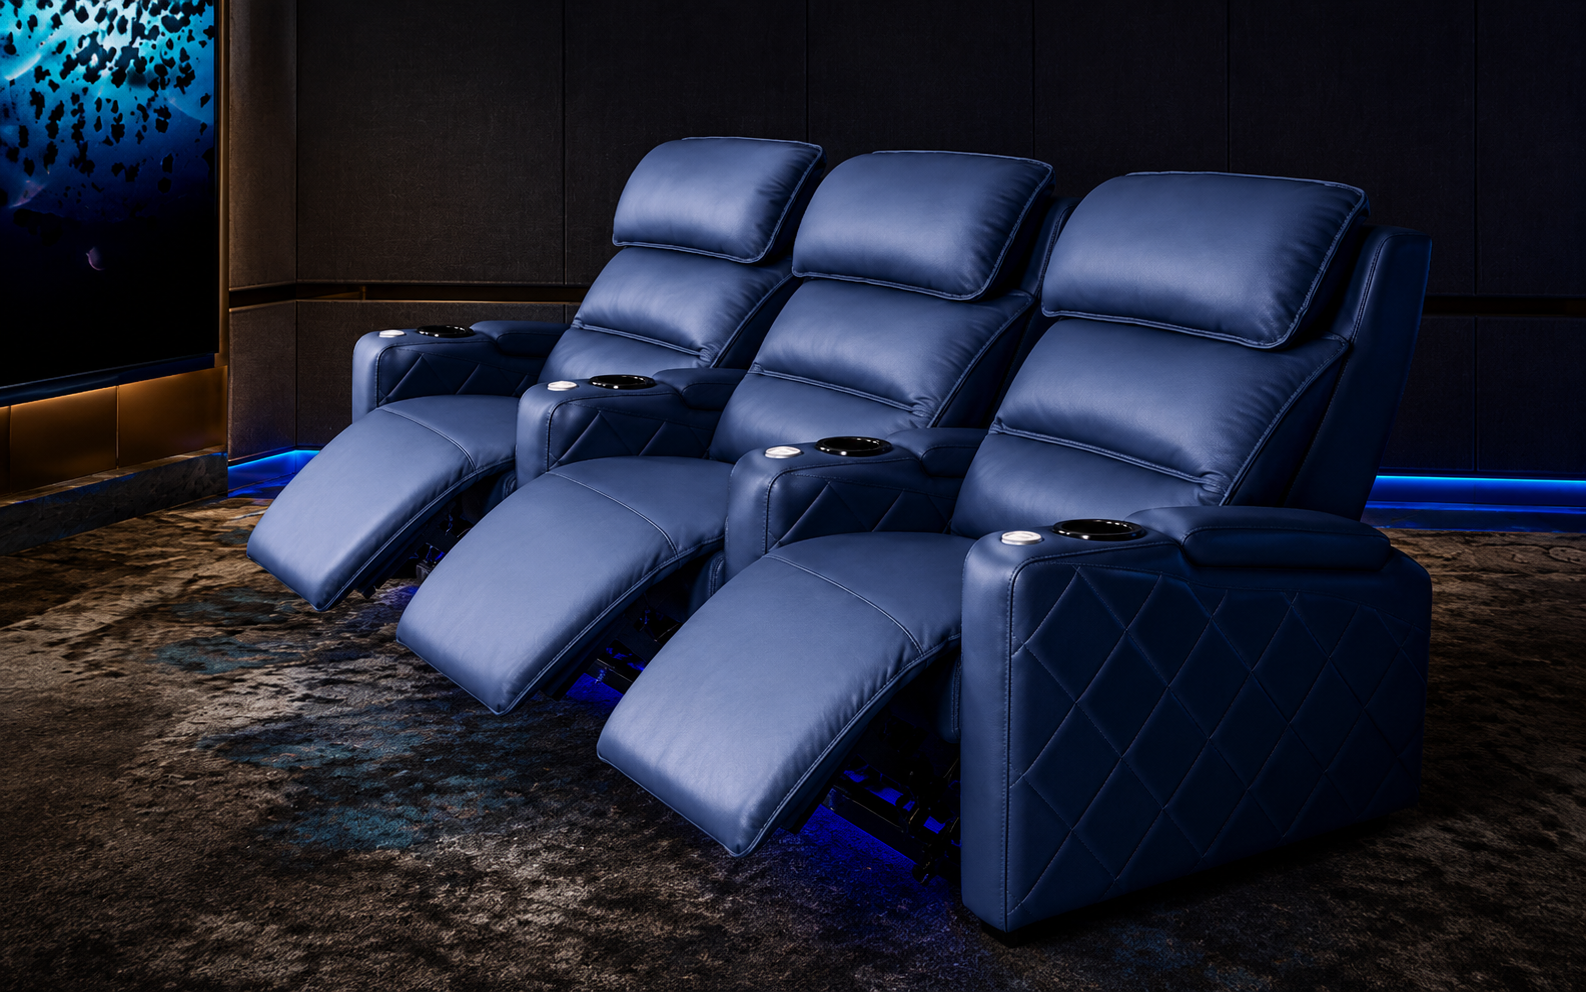
When selecting colour and texture, use the featured CAVENRO recliner – a model celebrated for its rich comfort and composition for private cinema – as a design reference. Its understated palette can be echoed in surrounding wall finishes or decorative panels, creating a cohesive visual narrative without overwhelming the space.
6. Safety, Accessibility and Code Compliance
Confirm that the recliner complies with local fire‑rating requirements and that the floor structure can support its static and dynamic loads. Provide clear egress pathways that meet building code standards; the clearance around the recliner should not impede emergency exit routes or obstruct fire‑suppression equipment.
Design for a range of users by incorporating adjustable lumbar support, easy‑reach controls and sufficient seat height for individuals with limited mobility. Where required, integrate assistive devices such as hand‑rails or motor‑assisted lift mechanisms, ensuring that these adaptations blend discreetly with the overall aesthetic.
7. Coordination with Interior Architecture and Finishes
Align the recliner’s positioning with architectural features such as built‑in cabinetry, acoustic panels and decorative mouldings. A well‑planned layout can hide wiring channels within existing voids and allow the recliner to appear as an integral part of the room’s geometry rather than an afterthought.
Collaborate with CAVENRO’s design team early in the process to explore bespoke finishes, stitching patterns or in‑lay details that echo the surrounding interior language. Customisation options should be documented in the project brief to avoid last‑minute changes that could affect lead times or installation sequencing.
8. Installation Sequencing and Post‑Fit Verification
Develop a phased installation schedule that begins with structural and MEP work, followed by acoustic treatment, then lighting, and finally the recliner placement. Conduct a full‑scale mock‑up or digital simulation to validate clearances, sight‑lines and cable routing before the actual unit arrives on site.
After the recliner is positioned, perform a comprehensive functional test covering motor operation, control integration, power safety and acoustic impact. Document any adjustments and provide the client with a concise handover packet that outlines routine care, warranty information and recommended service intervals.
Frequently asked questions
What minimum clearance should be left around a luxury recliner?
A practical rule of thumb is to maintain at least 150 mm of free space on the front, sides and rear of the recliner when it is fully extended. This allowance accommodates footrest travel, provides room for cleaning equipment and ensures that the seat does not interfere with adjacent furniture or wall panels. In tighter installations, a detailed mock‑up can confirm whether a slightly reduced clearance still meets comfort and safety standards.
How can I conceal power and data cables without compromising recliner aesthetics?
Use dedicated conduit runs that follow existing wall cavities or floor trenches, finishing them with surface‑mounted raceways painted to match surrounding trim. In many high‑end media rooms, cable management is integrated behind a false wall or within a raised platform that doubles as a speaker plinth. This approach hides all wiring while keeping the recliner’s silhouette clean and uninterrupted.
Do recliners affect room acoustics, and how can I mitigate any issues?
The mass and upholstery of a recliner can absorb mid‑range frequencies, subtly altering the room’s reverberation balance. To mitigate this, place acoustic panels strategically behind and beside the seat to control early reflections, and use a dense carpet or floor underlay beneath the recliner to manage low‑frequency resonance. These measures preserve the intended sound field while still offering the comfort of a plush seat.
What maintenance considerations should be factored into the initial design?
Select fabrics that resist staining and are compatible with the room’s humidity control system. Provide easy‑access panels for motorised components, allowing routine lubrication or firmware updates without disassembling the seat. Include a maintenance schedule in the project documentation, outlining cleaning agents, recommended intervals and contact details for authorised service technicians.
A meticulous planning process transforms a luxury recliner from a standalone piece of furniture into an integral component of a private cinema’s visual, acoustic and technological ecosystem. By addressing spatial clearances, power integration, acoustic placement, lighting coordination and safety requirements early, architects and designers can avoid costly revisions and deliver a seamless, immersive experience. Engaging with specialist manufacturers such as CAVENRO during the design phase ensures that custom finishes and functional specifications align with the overall vision. Ultimately, a well‑executed installation not only elevates comfort but also reinforces the architectural narrative of the space, leaving the client with a timeless, high‑performance entertainment environment.
Related CAVENRO references
- Explore Rich comfort, composed for private cinema.
- Explore the Cinema collection
- Read more planning guides
Need a project-specific seating proposal?
Share the room drawings, configuration, materials, required functions and destination. CAVENRO can review the brief before quotation.
Start a Project